Rendering 101
Share
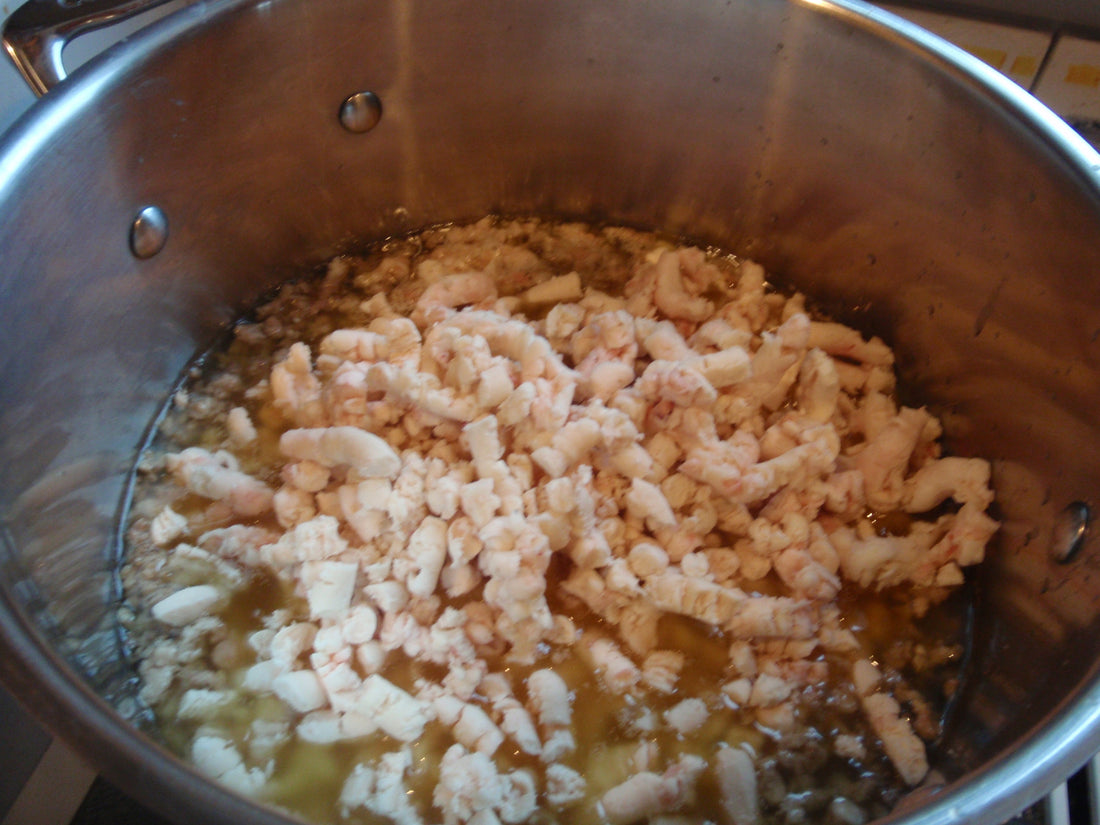
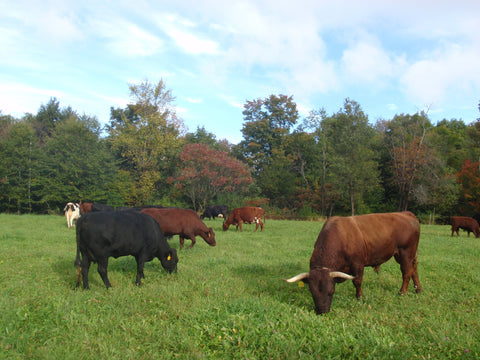
All of the products that I make at Fat Chance Farm start out as raw pork lard and beef tallow from sustainably farmed animals. The fat must be rendered to be useable but rendered fat is not just for soapmakers! The resulting lard and tallow can be used for cooking, baking and even frying. And we're not talking Hollandaise Sauce folks, if you can chop an onion and fry an egg, you have the necessary skills and tools to render fat!
Let's start with the fat. I buy fat in rather large quantities, as you might expect. A productive rendering day for me typically involved grinding and cooking off about 50 pounds of tallow and/or lard. If you want to start small, though, you can start with the fat trimmings from any raw piece of meat. It's ok if there are bits of gristle or meat mixed in, the rendering process takes care of that! So you can save up trimmings from steaks, roasts, chops and even chicken. If you're like me and like to leave most of the fat on your meat, get in touch with a local butcher or farmer and ask for leaf lard (from pigs), backfat (also pigs) or suet (usually beef but can also be from goats or sheep).
Leaf lard is what I use in soap and what you should plan to get if you plan to use the fat for soap or baking. Once rendered, leaf lard is white and nearly odorless, which makes it perfect for when you don't want your pie crust to be, well, porky.

Back fat is excellent as a cooking oil. While leaf lard is an internal fat, back fat comes from just under the pig's skin, on its back! This fat is a bit softer and tends to have a bit of a porky or bacony smell and taste after rendering, so works great for roasting potatoes, stir-fries, soups and any number of savory dishes but not so great for pastry (or bars of soap!)
Beef suet is called tallow once rendered and has more limited food applications than pork fats. It has a much higher melting point than lard, making it almost waxy at room temperature. And since it's melting point is higher than human body temperature, it can leave a somewhat greasy feeling in the mouth if used for cooking. However, it shines when used for frying! It has a high smoke point (around 450F) and since it is almost half saturated fat (the rest is monounsaturated with a small percent of polyunsaturated), it is much more stable than its majority polyunsaturated counterparts like canola and vegetable oils. It is also used in more traditional British baking recipes such as boiled puddings, mincemeat pies and certain cakes.
Ok, got your fat? Great! If it's not already cut up, you need to get it into smaller pieces. I use an electric meat grinder (an upgrade from my old hand-cranked model) but you don't need to get it that small. All you need is a sharp knife to chop it into 1-2 inch pieces. The smaller the pieces, the quicker and more completely the fat will render.
Take you fat pieces and put them in a pan or pot that allows some headroom (that is, don't fill it up all the way!) The fat may foam and rise a bit during the beginning of the process and you don't want it to overflow!
*Safety Note: Do you know how to put out a grease fire? Do NOT use water, the fat will float on the water and spread the fire. Grease fires must be smothered. Fire extinguishers are of course the best option (do you have one in or near your kitchen?) or if the fire is small and somewhat contained you can cover it with a pan lid or pot to starve it of air. Baking soda is also a good option for small grease fires. Shake generously over the flames until smothered. I keep a large box of baking soda on hand (and a fire extinguisher) just in case.
Heat the fat on medium. Soon you will hear some light sizzling and start to see the fat melt. If the fat starts browning, sizzling very noisily or smoking, turn down the heat! A little water in the bottom of the pan will help keep the fat from browning too much and will boil off during the rendering process.
Slow Cooker: If you have a slow cooker, you can use it to render fat on the low setting. This is a pretty easy, fool-proof way to render as it is very unlikely you will burn or overheat the fat. When using a slow cooker, add about half a cup of water in with your fat and start checking up on it after 3-4 hours. You may want to start out with the lid on (so it heats up faster) and once it is bubbling remove the lid to allow moisture to escape more quickly. Then follow the same finishing/pouring directions for stovetop rendering.
Stove Top: Stir occasionally while the fat renders. You will see the fat become more and more liquid as the solids get smaller. You will also see bubbles rising through the liquid fat. This is moisture boiling out of the fat, an important part of the rendering process! Moisture is what allows bacterial growth and spoilage, the reason that rendered fats are so stable and long-lasting, even at room temperature is that all of the moisture has been removed. As the fat continues to bubble steadily, you can begin reducing the temperature to medium-low or low. You want the bubbling to continue but you don't want the fat to overheat.
Remember, once the moisture has been boiled out of the fat it can be very easy to overheat! Unlike water, fat does not "boil" at 212F or show any indication of how hot it is, until it reaches its smoke point (375F for lard, 420F for tallow). That means your pot of fat can quickly get to 300F to 400F without being very obvious about it. Let me tell you, 400F fat is VERY BAD for your skin! So go easy on the heat and remember that electric burners can take a little time to change temperatures, while gas is almost instant.
When is the rendering process complete? First of all the bubbles of moisture will slow or stop and you can also watch for the cracklings, which are the bits of meat and skin that may be in the fat. The cracklings will get brown and crisp during the rendering process and eventually sink to the bottom of the pot once all the fat has been rendered out of them. Pork cracklings are excellent with a little salt and chickens LOVE cracklings of any kind!
You will want to separate your newly rendered fat from the cracklings while still warm but not so hot that you melt (or shatter) the container you're pouring it into (ask me how I know!). For fat destined for soap or baking, I line a colander or strainer with a paper towel, to make sure I catch even the smallest cracklings. For fat that will only be used for cooking, just pouring through a strainer is fine.
For storage, you can use a mason jar (the type used for canning) or reuse a plastic yogurt container or a stainless steel food storage container. I use food-grade 5-gallon buckets. When pouring into glass or plastic, it's a good idea to check the temperature of the fat with a thermometer and only pour once the fat is below 212F. Only use a glass container if it is glass meant to be used for canning or baking and make sure it is pre-warmed or at least warm room temperature, otherwise, the glass may shatter! Below you can see the results of pouring too hot vs. pouring at the correct temperature:

There you have it! Pure rendered fat, ready for cooking, baking or soap making!


18 comments
Thanks for the great info.
I’ve rendered a few times but always have to check to make sure I’m doing it right👍
Hi Lisa,
I would guess that it is either a small amount of unevaporated moisture or some crackling pieces small enough to pass through your filter. Either way, I don’t think it would impact flavor or longevity in storage too much, since they are so small. If you need a really clean, flavorless fat you could try reheating and pouring it through a finer filter to get those last little bits.
I rendered some pork leaf fat last night. When it solidified I noticed some beige flecks in the lard at the bottom of the jar. Is that a problem? Should I melt and filter it again? Thank you for your time.
Hi Emilee,
That’s hard to say without knowing a few more things:
What type of beef fat did you use? The type of fat from the meat trimmings is typically softer than the internal fat (suet) that surrounds the kidneys. Was the fat pretty solid at room temperature before rendering?
Are you sure you boiled all the water off? It can be tough to get it all out, though if there is any leftover it should separate in the fridge, with the fat on the top and the water on the bottom.
Why did you use salt? I don’t have any experience using salt for rendering, do you know what the purpose of it is?
Diane
I rendered my beef tallow for hours almost 12 and I did this two times, with water and salt, to get all the impurities out and strained it well. I put it in the fridge to cool it, it looked pretty color and didn’t smell but upon leaving it on the counter it became so water and runny. It’s not firm at all. What did I do wrong?